Under 20mm? Logo Engraving Ideas That Survive Production
Monograms, simplified icons, badges, negative-space marks, and bold wordmarks engrave the most reliably, because engraving success comes down to two things: material and vector-ready files. A single-line palm tree cuts clean into stainless steel; a five-color gradient logo does not. Wynwoodblvd builds every watch dial and charm around this rule, and the production-ready tips below show exactly how.
TL;DR:
- Monograms and bold wordmarks are the most reliable options for engraving due to their simplicity and ability to withstand scaling and material variations.
- Material choice significantly affects design complexity; stainless steel, wood, acrylic, and leather each require different engraving depths and techniques for optimal results.
- Vector file formats like SVG and DXF are necessary for laser engraving, and all text must be converted to outlines with uniform stroke widths before production.
- Consistent placement and clear space around logos are vital for brand recognition, with specific rules depending on the product type, such as center placement for watches and subtle positioning on apparel.
- Testing on the actual material before full production is essential, especially when using different laser types (fiber, MOPA, CO2) to ensure the final engraved result meets expectations.
Table of Contents
- Logo Engraving Ideas Organized by Style and Product
- How Material Changes What a Logo Should Look Like
- What File Format Does Laser Engraving Actually Need?
- Where Should a Logo Sit on Each Product?
- Design Rules That Keep a Logo Engraving-Ready
- Which Laser Actually Suits Your Logo?
- How Wynwoodblvd Puts These Rules into Practice
- Why Engraving-Ready Design Is a Long-Term Brand Decision
- Get Your Logo Engraved on a Wynwoodblvd Watch or Charm
- Sources
Logo Engraving Ideas Organized by Style and Product
Every engraving-friendly logo starts life as a shape that can survive being reduced to a single color and a defined depth. Some styles handle that reduction naturally. Others need real rework before a laser can touch them. Here’s how the main categories break down, with a production note for each.
Monograms. Interlocking or stacked initials are the most forgiving engraving option because they rely on letterforms, not fine illustration. They work at tiny scale, which is why they show up constantly on watch case backs and charm faces.
- Interlocking initials for a watch dial center
- Stacked three-letter monogram for a leather card holder
- Single bold initial inside a circle for a charm
- Script monogram for a wedding-gift tumbler
- Sans-serif monogram for a corporate pen barrel
Badges and emblems. A circular or shield badge gives you a contained shape with built-in negative space, which is exactly what a laser needs to keep lines crisp. Badges read well on tags, coasters, and packaging because the border does the framing work for you.
- Circular badge with a city name arc for leather luggage tags
- Shield emblem with a single icon for a corporate award plaque
- Banner-and-crest combo for a hotel key fob
- Minimal ring badge for a bottle opener
- Two-line circular badge (name top, year bottom) for anniversary gifts
Minimalist icons. A single-line icon, drawn without shading or gradient, is the style that survives the widest range of materials and sizes. This is the category most watch and jewelry brands lean on for dial marks and charms, Wynwoodblvd included.
- Single-line palm tree for a stainless steel charm
- Geometric wave icon for a dial marker at 12 o’clock
- Compass or anchor outline for a bracelet tag
- Minimal skyline silhouette for a keychain
- Simple sun icon for a sunglasses case
Negative-space marks. These use the material itself as part of the design, letting an unengraved shape read as the subject. They’re striking, but they demand extra testing because the “logo” is really the untouched surface.
- Arrow formed by negative space inside a circle for a phone grip
- Letterform where the counter (the hole in an “A” or “O”) carries a hidden icon
- Mountain range silhouette with the peak left uncut for a mug wrap
- Wordmark with one negative-space icon swapped into a letter for packaging
Vintage and etched illustrations. Detailed, stippled, or crosshatched artwork can work, but only after it is converted into an engraving-specific line version. Complex designs with fine, overlapping lines can blur or cause thermal stress on the material, so illustrators typically build a simplified stipple or halftone variant just for small engraved goods.
- Etched map outline for a leather passport holder
- Halftone portrait icon for a large wood plaque
- Crosshatched wave pattern for a flask panel
- Line-art botanical sprig for a jewelry box lid
- Vintage-style seal with reduced detail for a coaster set
Bold wordmarks. A short, thick-stroke name (no thin serifs) engraves cleanly on almost anything, and it doubles as a backup mark when an icon gets too small to read.
- All-caps monospace wordmark for a watch caseback
- Condensed wordmark for a slim bracelet bar
- Two-word stacked wordmark for a gift box lid
- Single-word wordmark for a tumbler wrap
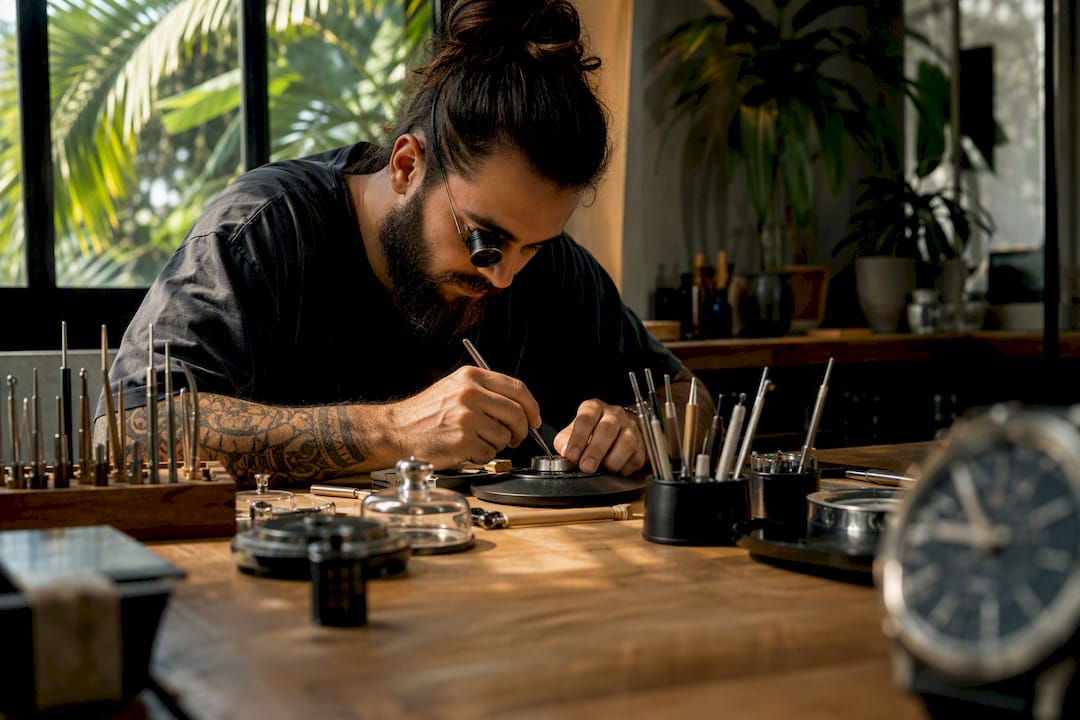
Wynwoodblvd applies this exact logic to its own pieces: a custom logo watch dial usually carries a monogram or minimalist icon, while palm-tree charms rely on a single-line icon because it holds up at small sizes.
How Material Changes What a Logo Should Look Like
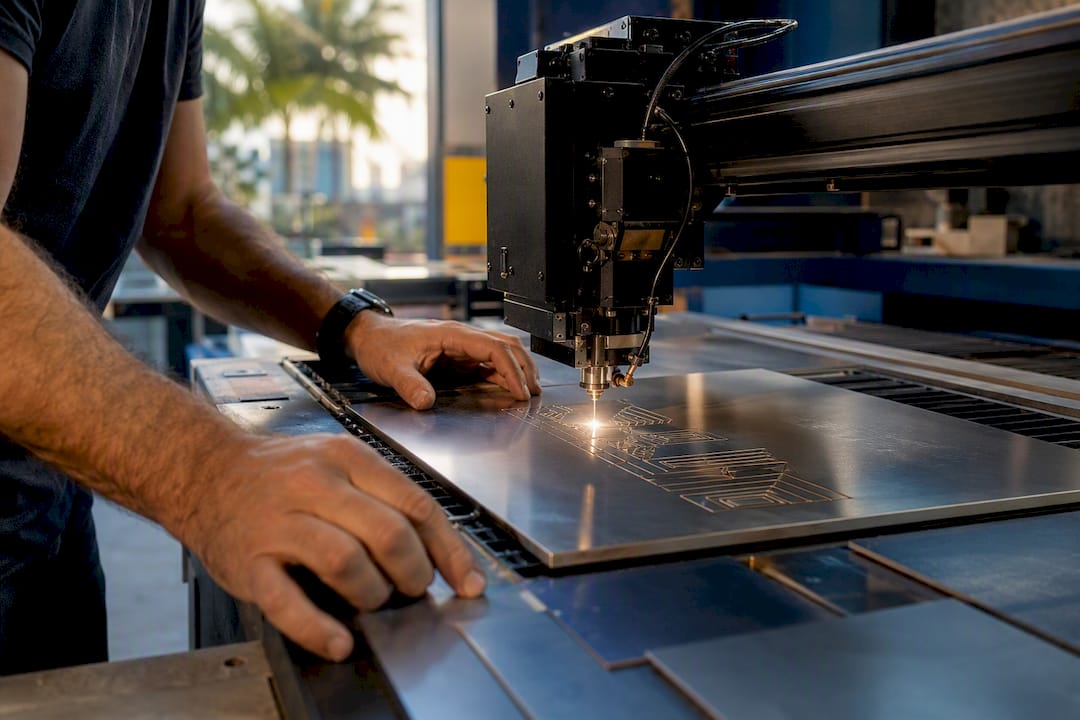
The substrate decides how bold, how detailed, and how deep a logo can go before it stops looking clean. Stainless steel gives you the most contrast options: frosted (light, matte mark), black mark (via MOPA laser oxidation), or deep engraving for a tactile, longer-lasting line. Fine detail below a minimal line thickness tends to disappear or blur on steel.
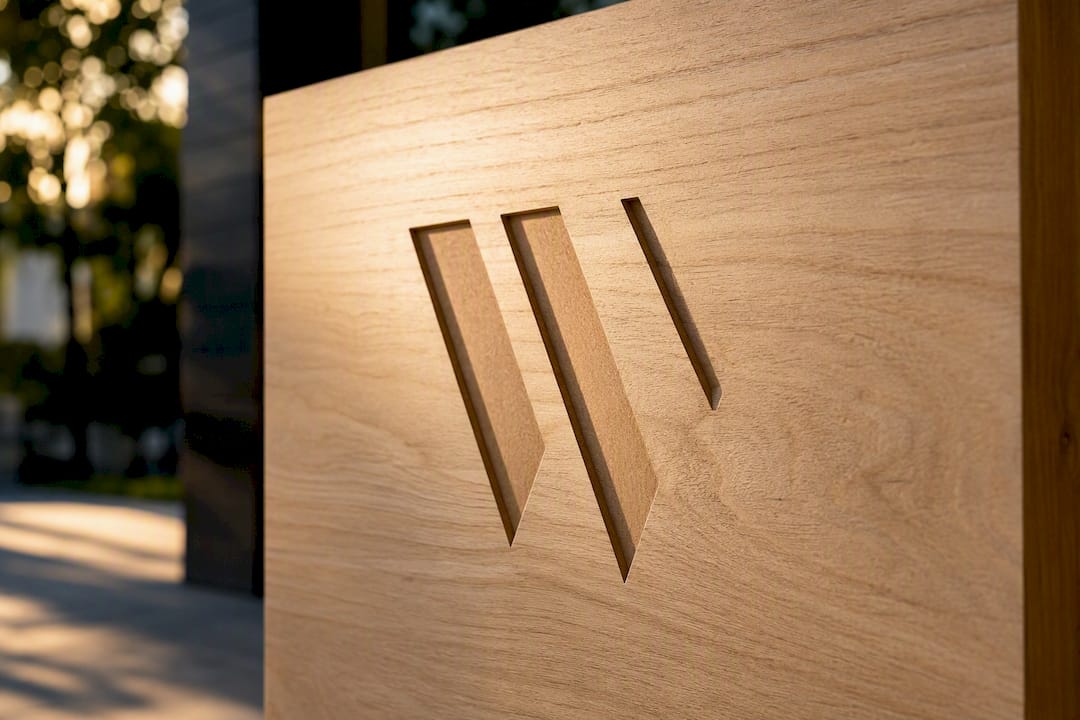
Wood interacts with grain direction, so thinner strokes can wander or char unevenly. Bolder shapes with fewer fine details hold up far better, and darker woods generally show more contrast than pale ones.
Acrylic and glass can go two directions: frosted surface removal for a soft, cloudy mark, or edge-lit engraving where light travels through the material and the design glows from within.
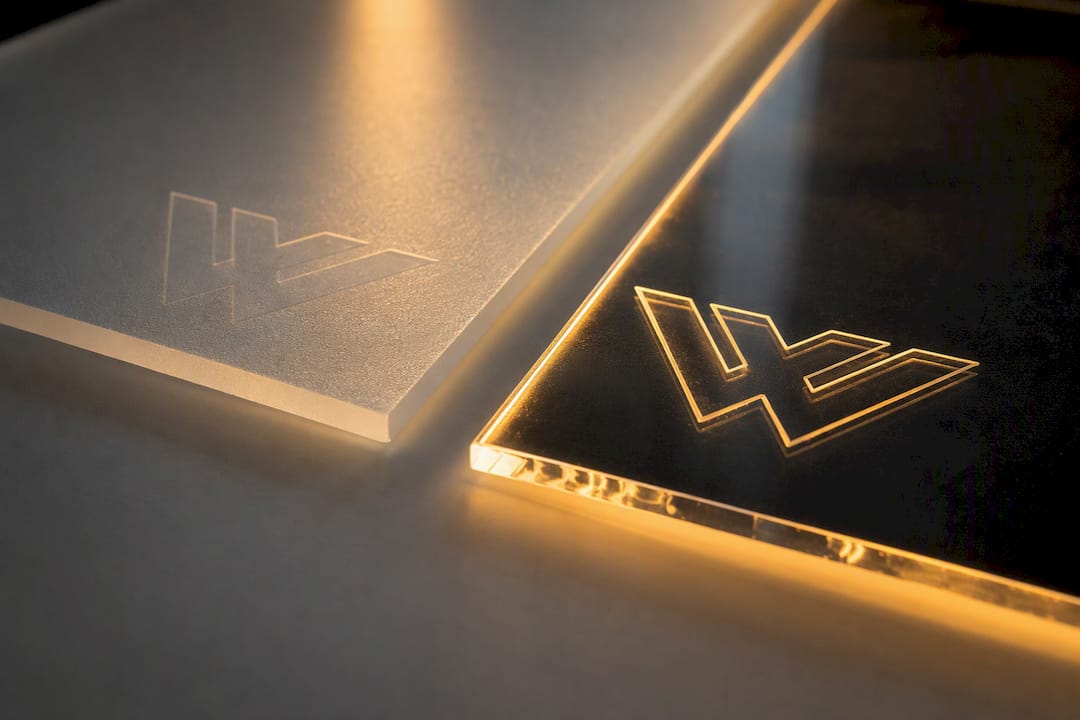
Leather takes a shallow engrave well but scorches at higher power, so depth needs to stay conservative, and any leather touching food should never be engraved without a proper sealant.
Coated or plated items are the trickiest. A light pass may only scuff the coating rather than remove it cleanly, so deeper engraving is usually needed to cut through the plating layer entirely.
- Stainless steel: frosted, black-mark, or deep engrave
- Wood: bold strokes, grain-aware placement
- Acrylic/glass: frosted or edge-lit
- Leather: shallow depth, seal before food contact
- Plated metal: test first, often needs deeper passes
Engraved marks on materials like stainless steel read as more permanent and premium than printed logos largely because engraving resists corrosion, heat, and daily wear in ways ink simply cannot.
What File Format Does Laser Engraving Actually Need?
Laser engraving needs vector files, not photos or screenshots. Vector formats like SVG and DXF define exact paths a laser follows, which keeps lines crisp at any size. Raster images (JPG, PNG) lose precision the moment they’re scaled, and CNC production setups typically require G-code output on top of the vector file.
Before sending anything to a vendor, run through this checklist:
- Convert all text to outlines so fonts don’t shift on another system
- Remove gradients and drop shadows; engraving reads in flat shapes only
- Unify stroke widths across the design instead of mixing thick and thin lines
- Assign hairline strokes specifically where you want fine engraving paths
- Export both a vector file (SVG/DXF) and, if requested, G-code
- Note the intended physical size and target material on the file itself
- Request a sample or test engrave before approving a full production run
Minimum stroke width and text size depend heavily on the material. Steel can usually hold finer lines than wood; professionals recommend avoiding very thin strokes and very small text to maintain legibility.
Pro Tip: An AI-based engraving tool can preview how your artwork will look in stipple, crosshatch, or line-art mode before you ever send a file to production, which saves a wasted test run.

Where Should a Logo Sit on Each Product?
Placement rules exist because consistent positioning across products builds brand recall the same way a consistent logo shape does. A mark that jumps around from item to item never builds the same recognition.
- Watch dials and charms: keep a safe zone equal to the cap height of your mark on every side, and center small icons rather than pushing them to an edge
- Apparel: left chest for subtle branding, center chest for statement pieces; engraved metal tags follow the same left-chest convention as embroidery
- Drinkware: a single-face placement works for icons under 2 inches wide; wraparound designs suit wordmarks and patterns
- Cards and packaging: back-of-card marks or a small lower-right icon keep the front clean for other content
- General rule: always design and proof at the final physical size. What looks balanced at 300% zoom can crowd badly at actual scale.
Design Rules That Keep a Logo Engraving-Ready
Line weight and negative space decide whether a laser produces a clean mark or a muddy one. As a working minimum, avoid strokes thinner than about 0.5mm on metal or 1mm on wood, since thin flourishes tend to blur or drop out entirely during the cut.
Give the mark breathing room equal to 50 to 100% of its own height before any edge, border, or competing element. Crowd that space and the eye can’t separate the logo from its surroundings, even if the engraving itself is technically clean.
- Set minimum stroke width by material (steel tighter, wood looser)
- Leave 50 to 100% of logo height as clear space around it
- Simplify detailed illustrations into stipple or line-art versions for engraving
- Build a secondary, simplified mark for anything under 20mm
Pro Tip: Keep a second, stripped-down version of your logo on file specifically for small engraved items. Trying to force your full-detail primary logo onto a charm almost always ends in a blurry mess.
Which Laser Actually Suits Your Logo?
The laser type determines the finish more than almost any design choice you make. Fiber lasers handle general permanent metal marking, while MOPA lasers are the better pick when you want a true black, high-contrast mark on stainless steel. CO2 and diode lasers cover wood and acrylic well, running at lower power for lighter woods and higher power for denser hardwoods or thicker acrylic.
- Fiber laser: standard metal marking, durable and cost-effective
- MOPA laser: black, high-contrast marks on steel
- CO2/diode laser: wood and acrylic engraving
- Rotary fixtures: needed for round items like watch cases or tumblers to keep the mark aligned
- Multi-pass or inlay techniques: used for deeper cuts or contrasting fill colors
Whatever the combination, sample-testing on the actual substrate before a full run remains the one step nobody should skip.
How Wynwoodblvd Puts These Rules into Practice
Wynwoodblvd builds its watch and jewelry line around Miami and coastal storytelling, and that identity has to survive being engraved at a few millimeters wide. The single-line palm tree used across Wynwoodblvd charms exists because a detailed tropical illustration simply won’t hold up at that scale. Dial customization for custom logo watches typically defaults to a monogram or reduced icon, tested on the actual stainless steel case before any bulk order moves forward.
- Simplified icon marks built specifically for charm-scale engraving
- Monogram-first approach for dial customization
- Sample testing on stainless steel before production runs
Why Engraving-Ready Design Is a Long-Term Brand Decision
A logo that only works as a flat digital file has a short shelf life once a brand starts making physical products. Simplified, engraving-ready marks tend to outlast trend-driven redesigns because they were built to survive reduction from day one. Designers who treat that constraint as a feature, not a limitation, end up with identities that hold up on a watch dial as well as a billboard. Test early, cut a sample, and let the material tell you what needs to change.
— Mathias
Get Your Logo Engraved on a Wynwoodblvd Watch or Charm
Wynwoodblvd turns a laser-ready logo file into a wearable product instead of leaving it stuck in a mockup. Pieces like the Atlantic Blue Stainless Steel Automatic Watch and the Palm Tree Charm in silver signature show what a simplified mark looks like once it’s actually cut into stainless steel.
If you’re planning corporate gifts, sales incentives, or hotel merchandise, dial customization and bulk charm orders both start with the same checklist covered above: vector file, target material, and a sample request. Browse the Miami-inspired watch collection or the necklaces line to see finished engraving examples, then send over your artwork for a sample before committing to a full production run.
Sources
A few resources make the jump from concept to laser-ready file much faster:
- Industrial Metal Engraving: Traceability & Branding
- Bold laser engraver logo ideas to ignite your brand.
- Logo placement best practices to maximize brand recall - Logo Analyzer Blog